 HideReveal
How to use HideReveal — step by step
This guide walks through anonymizing data in an Excel file, restoring it, and safely working with AI responses — using screenshots from the actual, running app. You can print this page or save it as a PDF straight from your browser if you'd like an offline copy. If you're interested in the technical side of how the app works, see the Technical documentation.
Contents
- Quick-anonymize an Excel file
- Anonymizing a related Word / PowerPoint / TXT document
- Restoring the original data (de-anonymize)
- Paste & reveal — working directly with an AI chat window
- Project or quick anonymize — which one to use?
Every process in HideReveal starts by anonymizing an Excel file. That's the step where the app builds the data dictionary — a local list linking original values (say, a specific national ID number or email address) to the tokens assigned to them. Only once that dictionary exists can HideReveal recognize the same data in other files — a Word document or a PowerPoint deck, for instance, if the same values appear there too — and replace them with the same tokens used in the Excel file. So it's worth following the steps below in order, starting with Excel.
1. Quick-anonymize an Excel file
Launch HideReveal, go to the Anonymize tab, and click "Choose file and anonymize...". Pick the Excel file with the data you want to anonymize.
The app reads the column names and suggests which ones likely contain sensitive data (e.g. "National ID", "Email", "Salary") along with a suggested tag. You can uncheck any column you don't want anonymized, or change its tag from the dropdown.
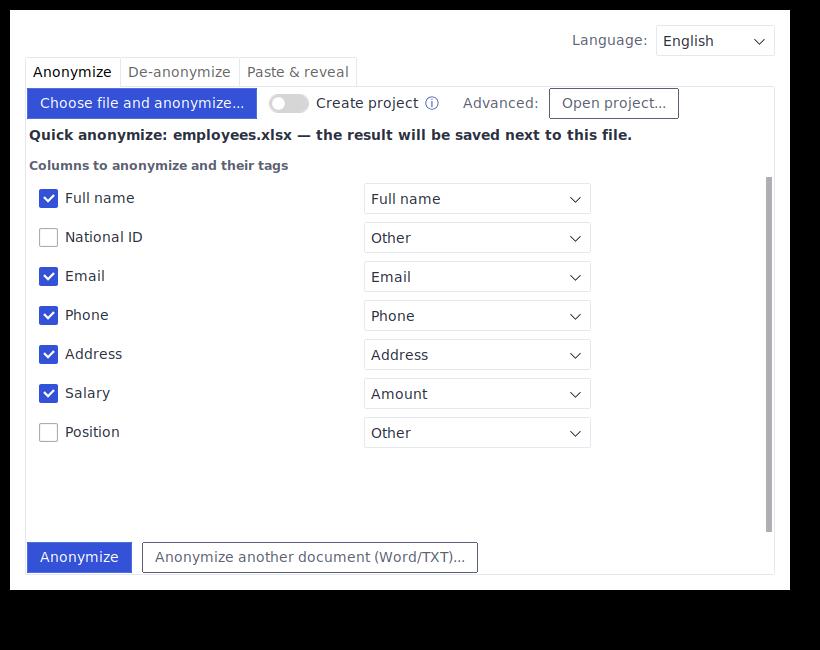
Click "Anonymize". The app saves a new file next to the original (with "_hidden" and a timestamp added to the name) and shows you exactly where it saved it. The original file is left untouched.
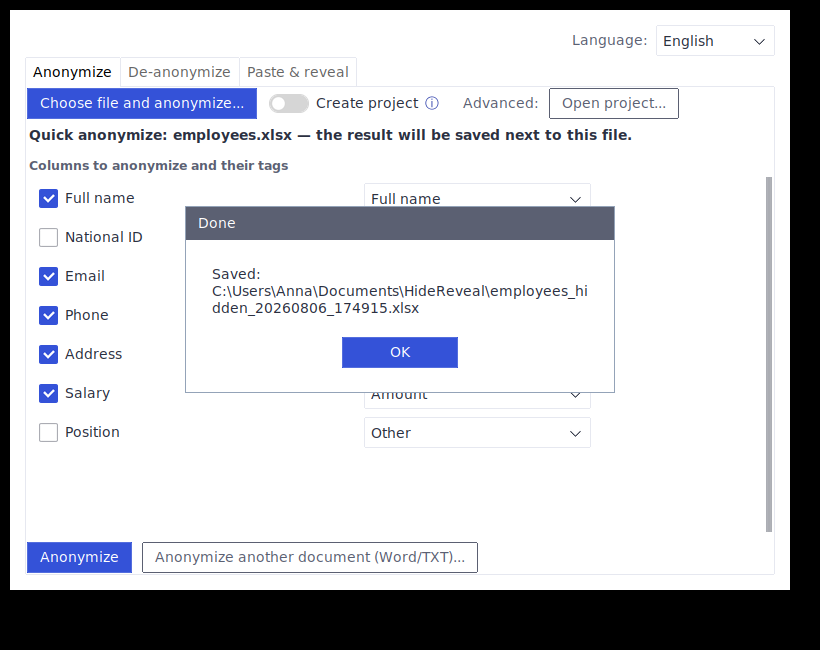
You can now safely paste or attach the anonymized file into any AI tool — the context and structure of the data are preserved, but the sensitive values are now just tokens like A1B2C3_PESEL_XZ9KQP2M.
2. Anonymizing a related Word / PowerPoint / TXT document
If you also have a Word document or PowerPoint deck that contains the same data (say, the same name or email address), you don't need to mark it up by hand again. In the same tab, click "Anonymize another document (Word/TXT)..." and pick the file — the app checks that document against the values it already knows from the dictionary built in step 1 (from the Excel file), and replaces the same values with the same tokens used in the Excel file. It does not detect any new, previously-unknown sensitive data in that document — it only works with what's already in the dictionary.
This has to happen after anonymizing the Excel file in the same app session (or the same project, if you're using projects — see section 5) — otherwise the dictionary is still empty and there's nothing to replace.
3. Restoring the original data (de-anonymize)
When you get a file back with tokens in it (for example, your own anonymized file after AI has processed and returned it), go to the De-anonymize tab, click "Choose file" and pick it.
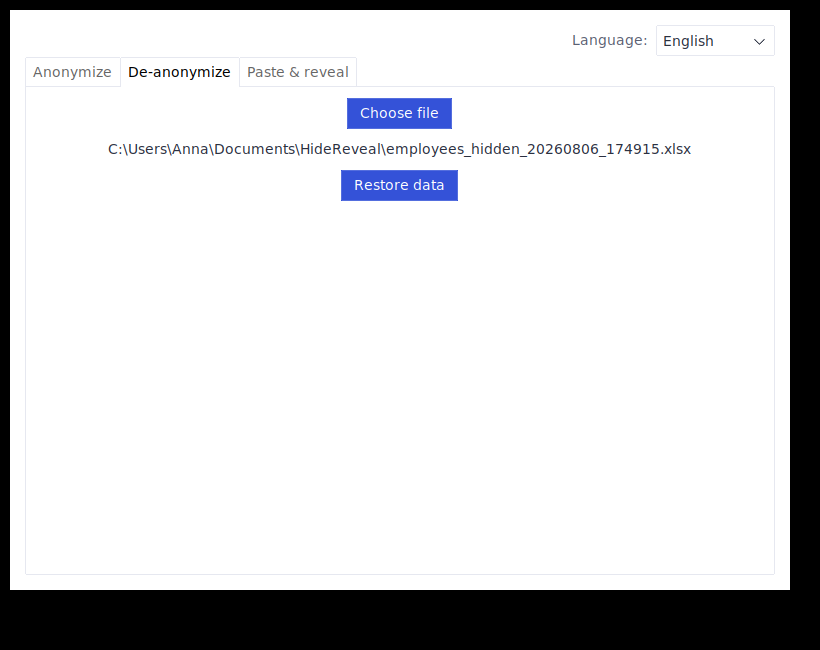
Click "Restore data". The app finds every token in the file, looks each one up in its local database, and saves a new file with the original values restored.
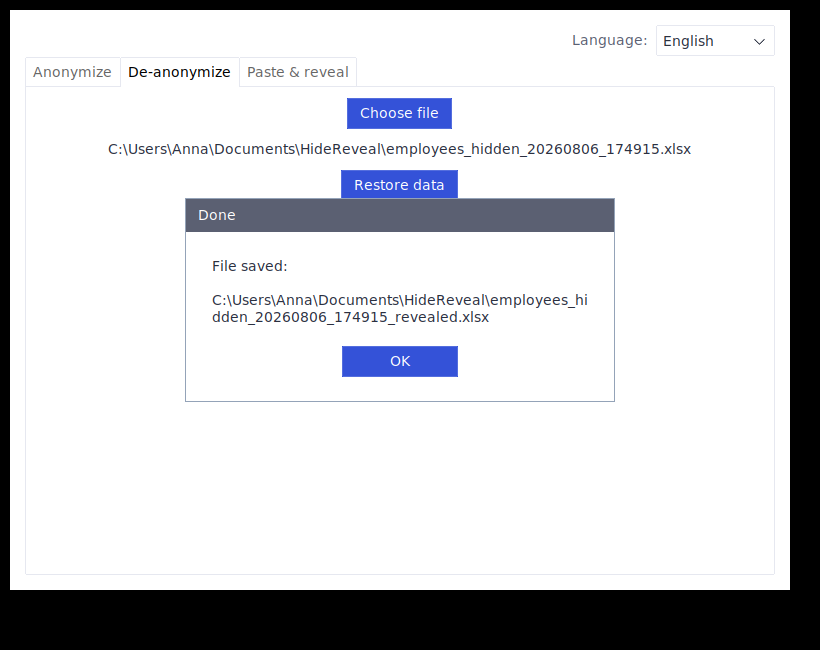
This works on Excel, Word, PowerPoint and text files (.txt, .md, .csv) — regardless of which project they came from, as long as the tokens inside them still exist in that computer's local database.
4. Paste & reveal — working directly with an AI chat window
The most common flow: copy a response from an AI chat window (a summary or analysis, say), paste it into the Paste & reveal tab, and click "HideReveal" — the tokens in the text turn back into the original data.
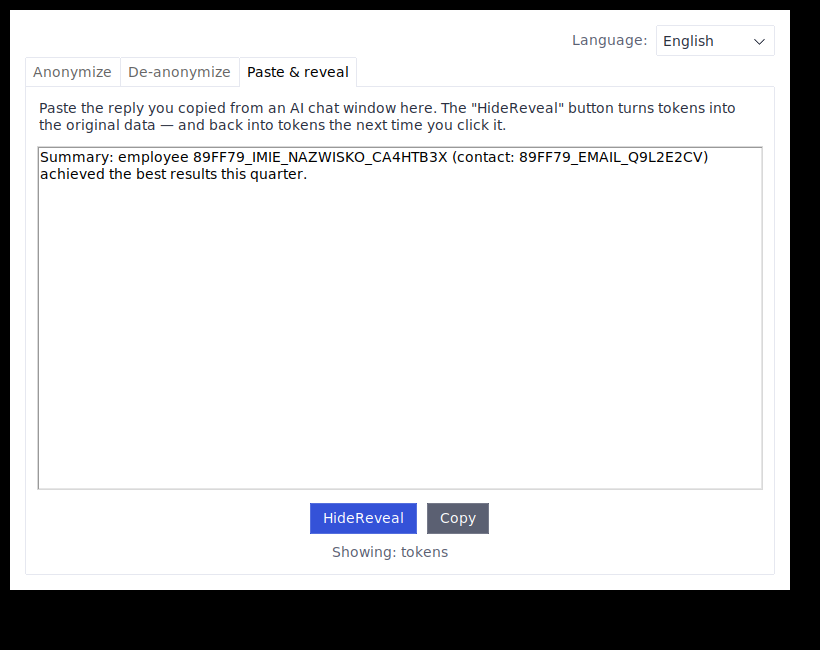
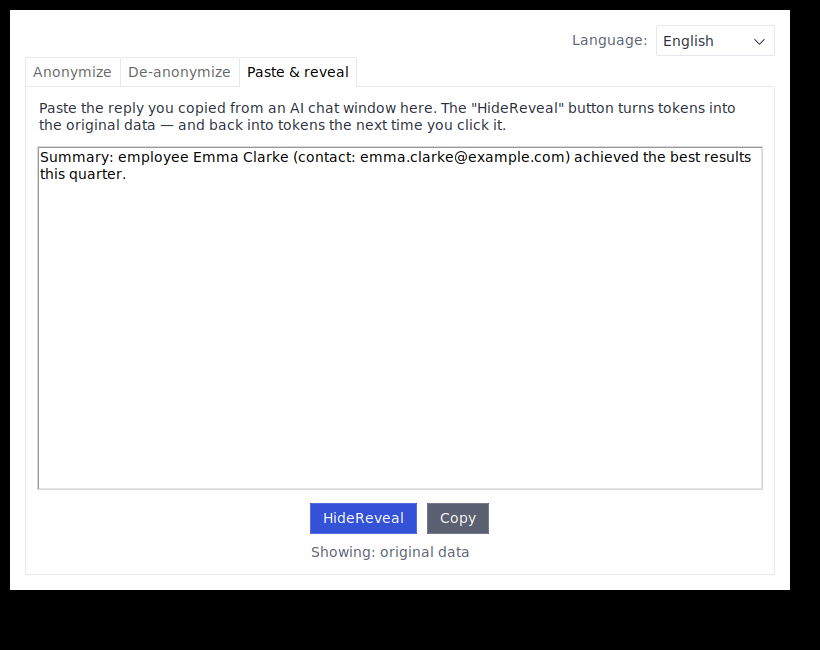
The same button also works the other way: paste text containing the original data, and clicking it again turns it back into tokens (this needs an open project or the current quick-anonymize session — see below). The "Copy" button next to it copies the field's current content to your clipboard.
5. Project or quick anonymize — which one to use?
By default HideReveal works in quick-anonymize mode — you pick a file, the app anonymizes it, done. This is the simplest path for one-off work with a single file.
Turning on the "Create project" toggle before picking a file makes HideReveal set up a project folder with a persistent dictionary — useful if you keep coming back to the same data over days or weeks and want the same values to always get the same tokens, even after closing and reopening the app. Go back to an existing project with the "Open project..." button.
← Back to home